Git is a tool that allows you to store, version, and share your code. Imagine you're writing a book with a hundred other people. How would you share the in-progress edits of the book? Email? Chat? A chaotic Google Doc? All sound pretty bad, right?
Imagine a company like Facebook with thousands of engineers. They all work on the same codebase and it's not feasible for them to edit the same copy (one person could break the code and break it everybody.) That's why we have a tool like Git. Git allows everyone to checkout their own copy of the code, make edits, and make change-requests that someone else can review before being merged in. That's what Git does.
Git itself is a command-line tool and it's worth your time to learn it. Nina Zakharenko has a great course on it for Frontend Masters. But we're going to do a fast way. Make a new folder on your desktop and open it with Visual Studio Code. On the left bar, there's a logo that should look something like this:
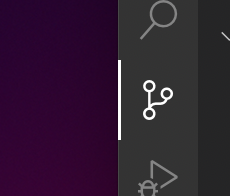
Click on that. Click initialize repo.
A repo (short for repository) is a project in Git parlance. Every project you do will be one repo. Right now it's an empty repo.
Create a new file called my-file.txt and put "Hi my name is Brian" in that file. In your Git tab, you'll see a new file show up under changes. These are changes that happened since you last "saved".
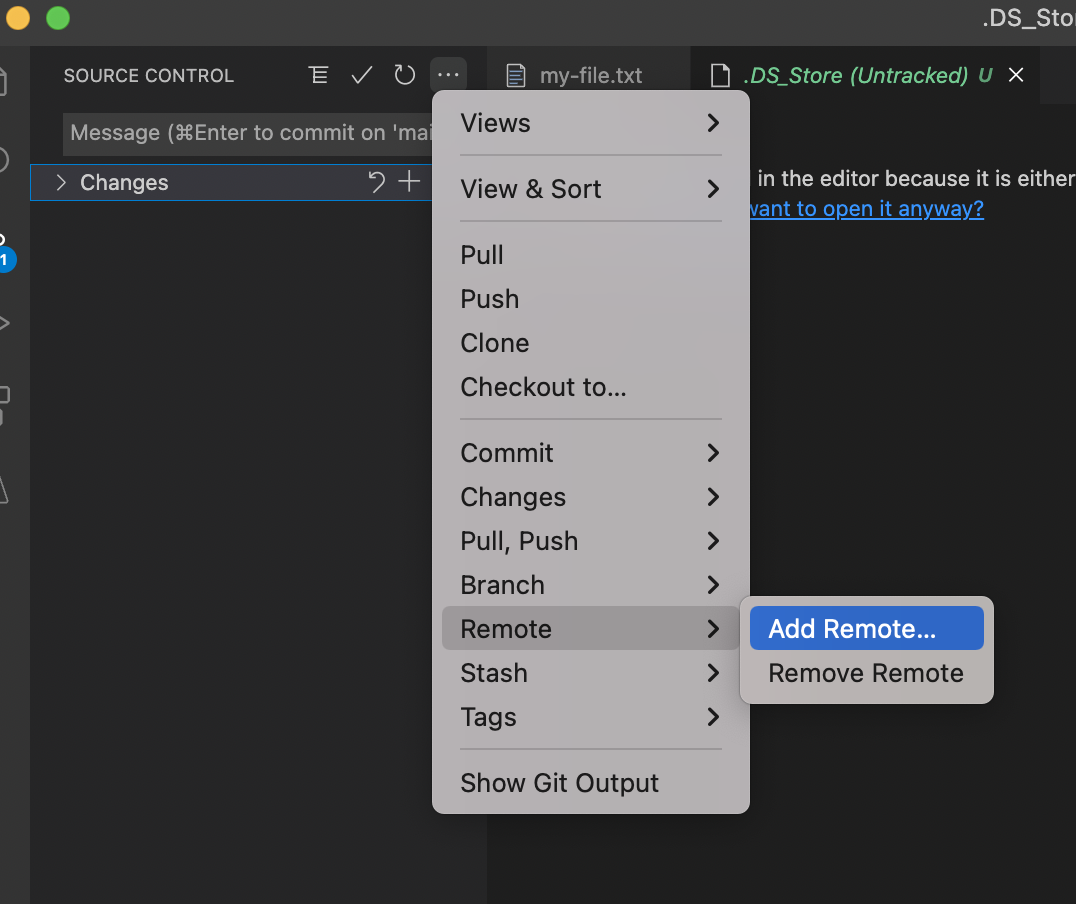
You may see a file called .DS_Store if you're on macOS. This is a file that macOS creates about how you organize files in your folders. You shouldn't commit this file. Go ahead and delete it if you see it.
Click the + next you the file. This file is now staged. This means it hasn't been saved yet but it is ready to be. Why? Because we may want to group multiple files into one larger save. We therefore stage all the files we want to save and then do one big save action. Keep in mind you stage a file and then change it after, you need to "stage" it again. When you stage something, it captures how it is at that moment. You stage and unstage things freely.
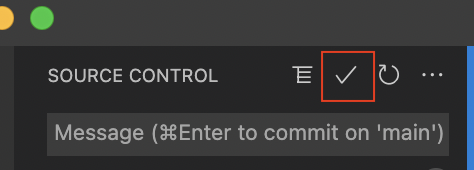
Okay, so now you've staged multiple things and you want to save it. We're going to commit your staged changes. When I saying "save" before I really meant "commit" as that's the word Git uses. A commit creates a new entry in your repo with all your new changes. Write a little message about you did in the message bar (like "added my name text file", enough to remind yourself later what it was you did) and click the ✓ at the top of the Git panel in VS Code.
That's the whole flow: make your changes and then commit them. Different people have different thoughts on when, how, and how often to commit but I'll let you decide that yourself. It's a tool for you to learn and get opinions for yourself.
There's a lot more to Git. This is just the most basic flow. Watch Nina's course to learn more.
GitHub
If you don't have an account click here to sign up. This is a public place to store your code, to share and learn from others, and the place in general to store their code. It becomes a bit of a defacto resume for you. Employers will definitely look to see if you're GitHub and how you write code. It'll become a professional profile for you. See mine here.
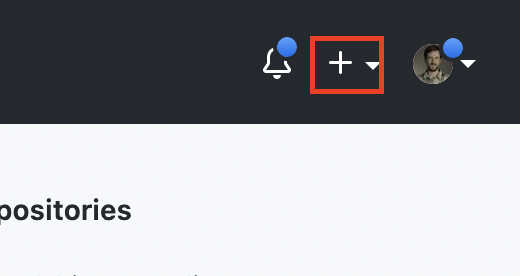
Once you've signed up, click the plus in the top right and create a new repo.
Call it my-first-repo or whatever you want to. You can ignore the other options. Nice. From here, grab the URL on the page. It'll be something like https://github.com/<your username>/my-first-repo.git. Copy that. Add it to VS Code via the submenu.
Call the remote origin. It's a standard practice to call the copy of the repo the origin that you're working off of. 99.9999% of the time you'll only need the one remote. Because Git is distributed, in theory you could all have your own copy of Git and push to each other's repos but no one works that way. So yeah, just call it origin.
It may ask you if you want git fetch periodically. Go ahead and say yes. This means VS Code will keep itself updated with your GitHub repo. It's a nice feature.
Okay, now click publish branch! There may be a bunch of prompts about authing with GitHub and allowing VSCode to open URLs. Just click yes through those.
We're not getting into branches but Git has a concept of branches. You can make a lot commits in a branch to keep all those changes together and then eventually merge those changes into the the main/master branch. We're not going to talk about that but that's what they're talking about. You just published your main/master branch for the first time.
Now check GitHub and see it's up there! That's it! That's how you share code!
Now go create a new file or modify your existing file. Stage the changes. Commit. And click sync changes to push to GitHub. That's it! Congrats! That's most of what's useful about Git.
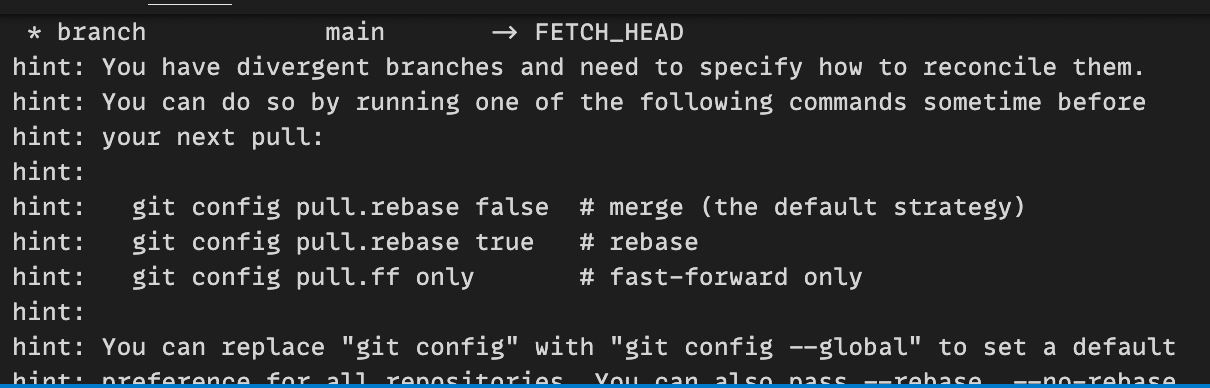
You may see an error like the above. In which case just copy and paste that first line into your command line. It needs a strategy for how to merge when there are conflicts.
